

How to Clean Fogged Headlights: DIY Tips to Make Your Headlights Cleaner and Brighter
Driving at night or in low visibility conditions can be challenging, and bright headlights are crucial for safety. Many people know to check for burned-out headlight bulbs, but the clarity of the headlight lenses is equally important. Over time, headlights can fog up due to the elements, reducing their effectiveness. Let's explore what causes headlight fogging and how to effectively clean them using DIY methods.
What causes headlights to fog up?
If your headlights appear dim or have a yellowish tint, it's likely due to fogged lenses. This problem is common in modern headlights made of polycarbonate instead of glass. While polycarbonate lenses are more scratch-resistant and durable, they degrade over time when exposed to sunlight, causing their outer layer to break down and absorb blue light. As a result, the emitted light becomes dim and has a yellowish tint. Fortunately, you can restore their clarity by using a few simple techniques.
The best ways to clean foggy headlights
Headlight cleaning products are readily available at automotive stores. Look for products labeled "headlight restoration kit" or "headlight lens cleaner." These products make it simple and effective to restore the clarity of fogged headlights.
If you need to clean your headlights with household products, toothpaste and baking soda can also be effective. Both products contain mild abrasives that can remove the fog layer without scratching the lenses. Other products, such as Rain-X, can help polish your headlights and restore their clarity. It's always a good idea to have a cleaning kit on hand.
Steps to DIY Headlight Restoration
Here's a simple step-by-step guide on how to clean headlights at home:
Gather the necessary materials
To get started you will need:
- Headlight restoration kit, toothpaste or baking soda
- Cloths or towels
- Latex gloves (for sensitive skin)
- Water
- A soft brush
- Gentle cleanser
Remove dirt from surfaces
First, spray the headlights with a mild cleaner. Gently wipe away any dirt, insects, or other debris from the surface.
Dry the surface
Use a clean towel to ensure the surface is completely dry before applying the cleaner.
Apply cleaner to the headlights
Apply an appropriate amount of cleaning agent to the lenses—this can be toothpaste, baking soda paste, or a product from a headlight restoration kit. Let the agent sit for a few minutes to slightly harden.
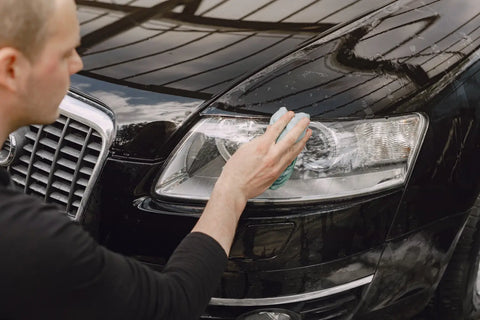
Scrub the headlight lenses
Using a soft brush, gently scrub your lenses in circular motions. You should notice the yellowing and haziness begin to disappear as you clean the surface.
Remove excess cleaning agent
Clean off any remaining residue with a towel. If any residue is stubborn, rinse with clean water and pat dry.
Tips to prevent headlights from fogging up
To keep your headlights in good condition, consider applying UV protection after cleaning. Regularly wiping the lenses with a gentle cleaner can also prevent them from fogging up again.
Summary
With the right products and a little DIY effort, you can restore the clarity of your headlights, improving your vehicle's appearance and lighting brightness. Follow these simple headlight restoration steps to keep your lenses clean and your visibility on the road clear.